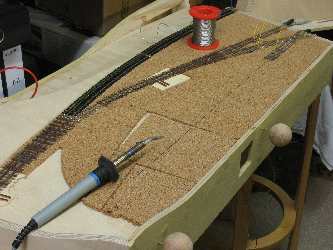
I’ve got the idea from Harry W. Brunk’s Up Clear Creek
on the narrow gauge. In part 32 describes Harry Brunk the building
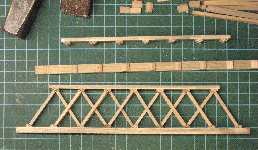
of his Truss Rod Bridge. At first I cut the Northeastern stripes,
then I stained the pieces.
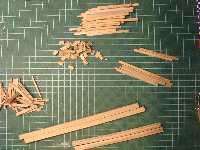
This is the wood for the first part. |
|
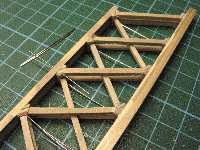
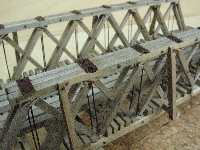
| And the first girder. The main timber at the bottom is made of
one piece instead of three timbers 9’’ x 18’’.
I cut one big piece from a 5mm strip and marked the lines with a
knife. The angle blocks are also cut from a triangle strip. The
head beam is made of three 8’’ x 10’’, the
diagonal braces from 8’’ x 6’’, the ends
are from 8’’ x 8’’. |
|
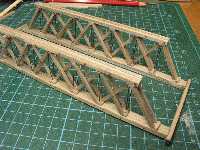
With the glued girders I inserted the rods, from 0.5 mm piano
wire.
I brush painted the rods and inserted a lot of nut-bolt-washers.
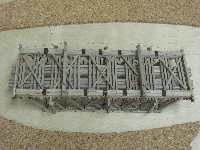
Then I glued the two trusses to a frame. |
|
I've added more wood. The cross web at the floor, all those cross
timbers. the three angle brackets at each truss, the two times three
12'' x 12'' tie support timbers.
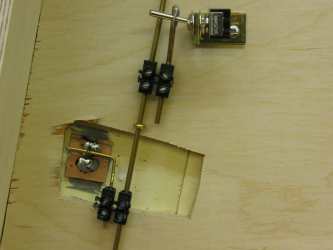
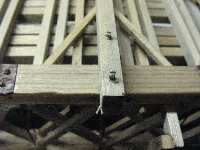
And the needle beams. I've use nails, sanded them and filed a small
notch for the wire. I used wire from an old relais.
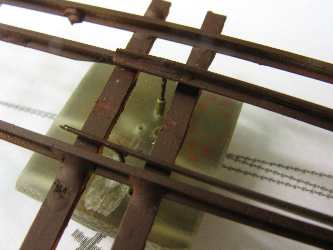
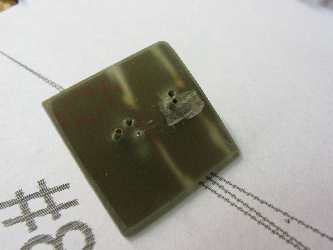
This is the bottom view with wires and turnbuckles. I've glued the
wires at the end timbers with CA.
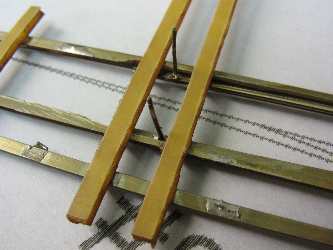
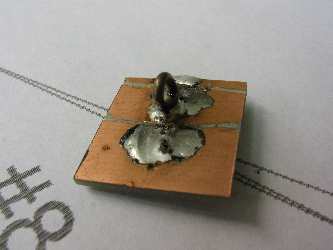
And the top view of the bridge. I've used pieces from aluminium
foil, painted rusty as steel plate at the top and bottom from the
rod.
And I inserted nut-bolt washers, over 200!
|
|
|
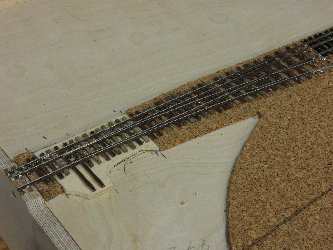
| Now I have to paint the tension wires and add bridge ties and guard
rails. I run out of 8'' x 8'' strip wood, this is what I want to use for
bridge ties. |