WESTPORT TERMINAL RR |
update |
[How to scratch build turnouts] and [crossings] [Manual thrown Peco turnouts] [switch stands] [Movable magnets] [DCC] [beacon light] [CB&Q 173] [RS-1 and weathering] [tender pick up 0-8-0] [ Track Cleaning Transfer Caboose ] [ Signal Bridge ] [Operation] [Way of Hopper BN 25 3 84] [WT RR industries shipping & receiving] download Excel [carcards&waybills] 900kB [staging] [Harbor District] [Plywood District] [Third Street Industrial District] [track scale, structures] [Operating gates] [Waterfront Structures] [trestle] [Interchange Cars] [car exchange] [pass exchange] [electronic rail pass ] [ video ] |
Flaggy flagman
I saw the idea in the narrow gauge group by Laurie, and I had to build one too.
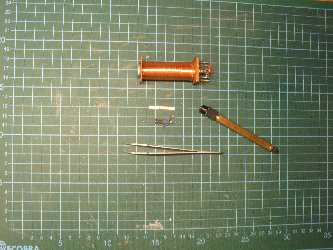
That's the workbench with tools. |
You see the magnet wire from an old
relay, a PC board tie, SMD resistor and LED, tweezers and pin vise
with 0,3 mm drill. 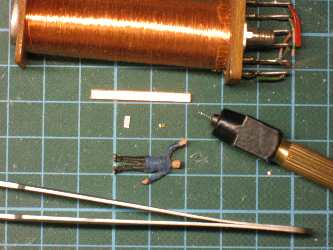 |
The hard part is done, drilling through
the Preiser's body. The wire pair goes from shoe to hip and from elbow
to hand inside. 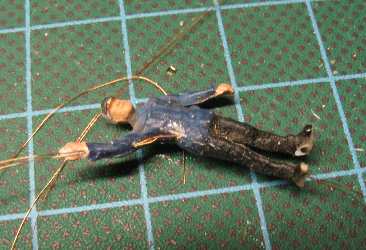 |
PC board with 1500 Ohm resistor and
two brass squares. 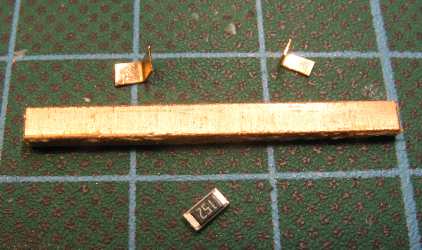 |
The brass squares go like the wheel
flanges inside the rails. 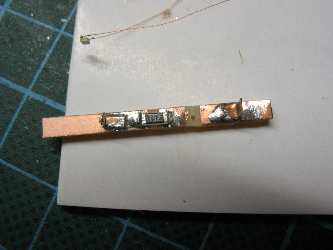 |
The second hardes part was soldering
the two wires to the SMD LED. 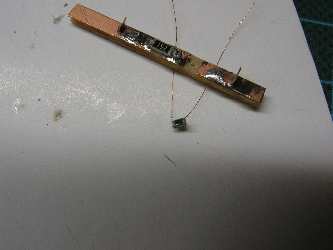 |
Testing !!! 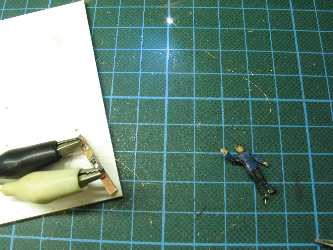 |
PC board with temporary soldered
wires 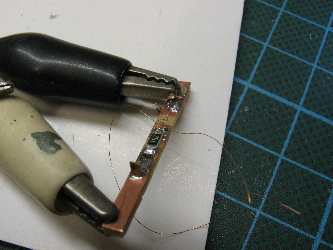 |
Flagman with SMD LED glued
into his hand with CA 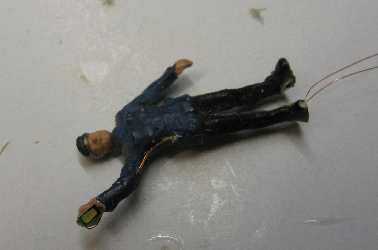 |
The tiny LED 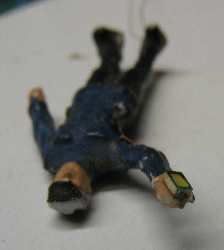 |
The wire in his armpit is
also glued with CA 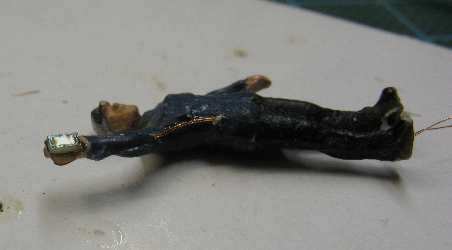 |
... and testing. Flagman glued
to PC board 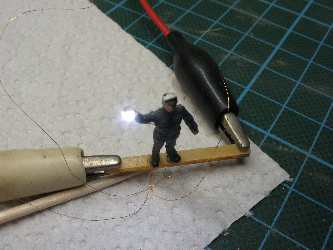 |
Now the two wires can be soldered
with correct length (shortness) 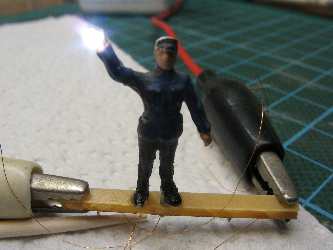 |
Testing 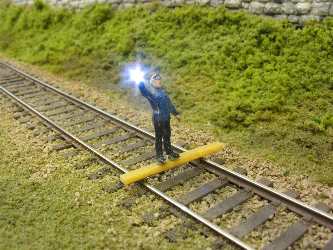
|
Testing, the brass squares
have still contact  |
The white LED has got a red color (your eye will
see the red, that's only the camera with white) 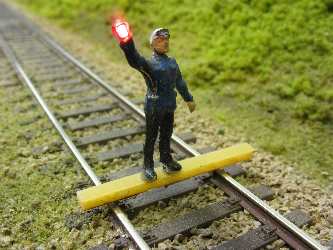 |
More color, the frame of the lantern (=LED) with
black |
And more fun with a parade 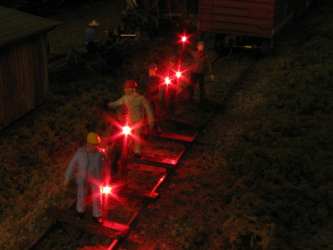 |
| [How to scratch build turnouts] and [crossings] [Manual thrown Peco turnouts] [switch stands] [Movable magnets] [DCC] [beacon light] [CB&Q 173] [RS-1 and weathering] [tender pick up 0-8-0] [ Track Cleaning Transfer Caboose ] [ Signal Bridge ] [Operation] [Way of Hopper BN 25 3 84] [WT RR industries shipping & receiving] download Excel [carcards&waybills] 900kB [staging] [Harbor District] [Plywood District] [Third Street Industrial District] [track scale, structures] [Operating gates] [Waterfront Structures] [trestle] [Interchange Cars] [car exchange] [pass exchange] [electronic rail pass ] [ video ] |