WESTPORT TERMINAL RR |
NEW Aug 2005 update Jan 06 |
[How to scratch build turnouts] and [crossings] [Manual thrown Peco turnouts] [switch stands] [Movable magnets] [DCC] [beacon light] [CB&Q 173] [RS-1 and weathering] [tender pick up 0-8-0] [ Track Cleaning Transfer Caboose ] [ Signal Bridge ] [Operation] [Way of Hopper BN 25 3 84] [WT RR industries shipping & receiving] download Excel [carcards&waybills] 900kB [staging] [Harbor District] [Plywood District] [Third Street Industrial District] [track scale, structures] [Operating gates] [Waterfront Structures] [trestle] [Interchange Cars] [car exchange] [pass exchange] [electronic rail pass ] [ video ] |
Trestle building
Pictures are linked to a larger view, click on them.
My peninsula has a turnback curve between two switching Districts, Third
Street District and Plywood District. This time I wanted a scenic divider
which caught eye.The operator stays often at the end of the peninsule and
could see both Districts. With my scenic gem his eye is caught.
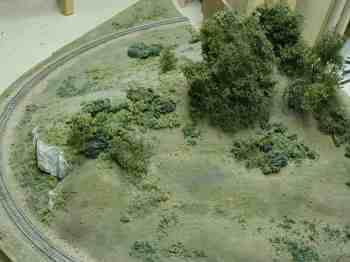
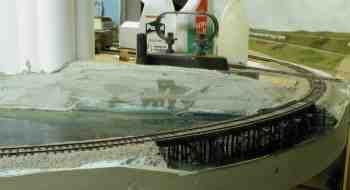
First pic is the old and dusty curve, I give it away. The other pictures
give a step by step story.
Looking for articles about trestle building was easy. There's the book from MR, "bridges & trestles", in RMC Jan 05 was an interesting article "Pile trestles".
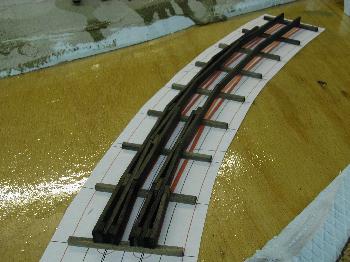
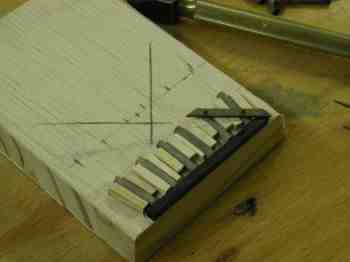
At first I made a drawing.
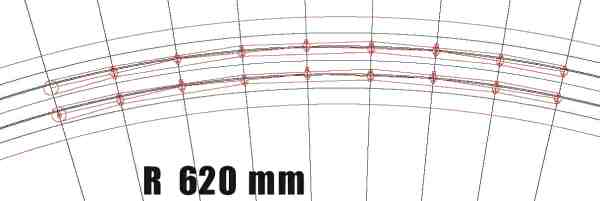
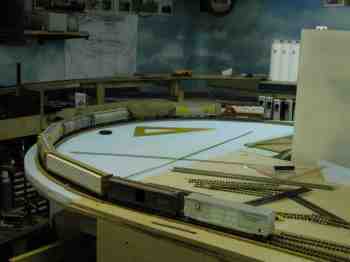
I laid the drawing at the future place of the trestle to look if everything will fit.
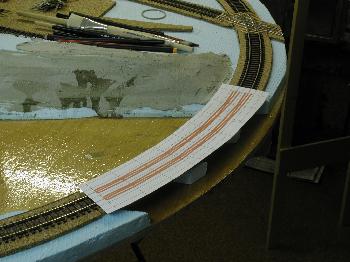
At first you need a lot of ties, stringers, caps, packing blocks, piles and .... All got a bath in stain. With my drawing as template I glued the stringers to the curbs.
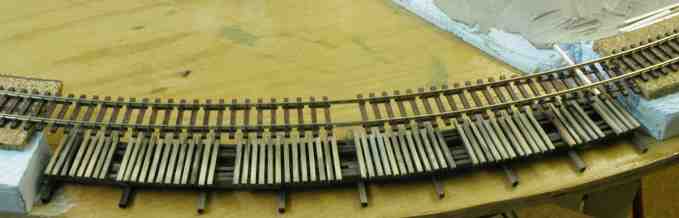
Next step, there came ties, lots of ties! You see some gaps.I had to remove the plastic ties from the track. But to keep the correct gauge I soldered PC board ties. These find their place in those gaps.
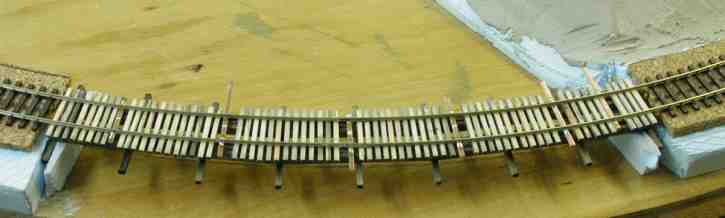
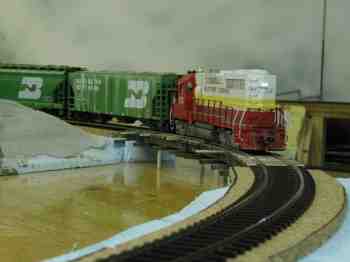
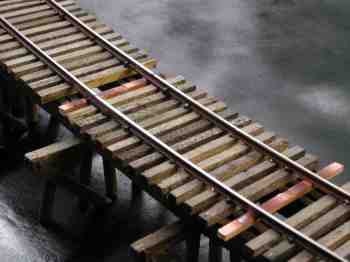
And this is a picture from the trestle - placed just for the first train.
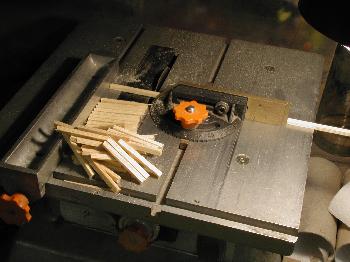
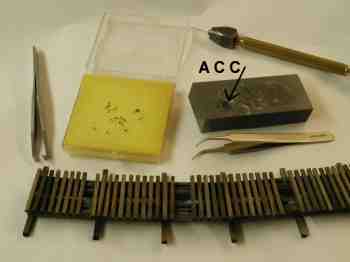
I cut some piles. I needed nine bents, so I wanted some type of fixture. The bracing should be cut to represent deeper water. Of course, I needed nut-bolt-washers. You see the working area with tools.
The stringers need nut-bolt-washers. You see three open holes, the fourth has its NBW.

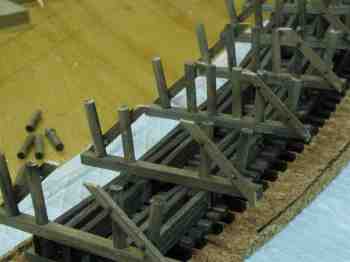
With my idea of bent building I run into a mistake. You see at the picture
above that I placed six piles in my fixture and glued a piece of bracing
to two piles. My wrong idea! I coudn't glue the other bracing with this
fixture.
So I had to glue every two piles with bracing to the cap and then glue the
two middle piles.
Next I added NBWs. Because, there was not enough room for the drill toole, I glued the NBWs flat, only the head! My tweezers are too big!
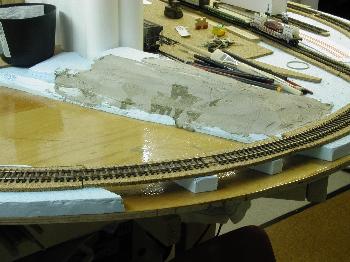
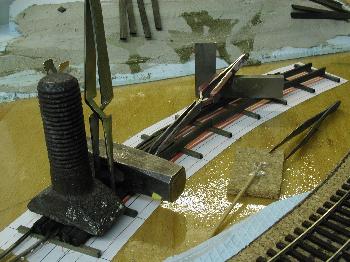
Also, I painted the rails and tried my water painting. Looks it like a lake??? I tried the methode described in RMC August 2005, page 64 , "Cry me a river". BTW, I've never been to the USA. All my knowledge comes from books, magazines & internet. For this project I used Model Railroad Handbook #33 "Bridges & Trestles, from MR. And RMC Jan 2005 had an article "Pile trestles".
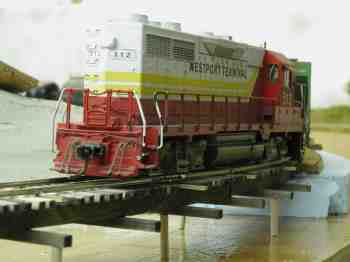
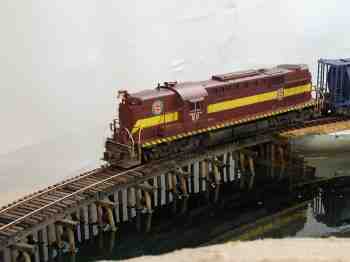
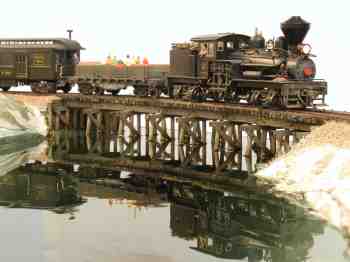
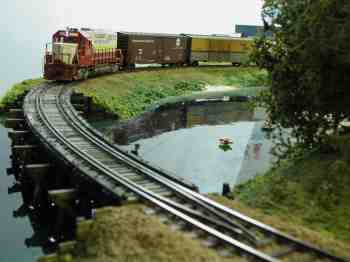
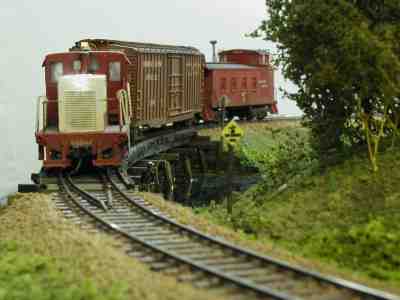
Then I test fitted the trestle and had fun, an excursion train:

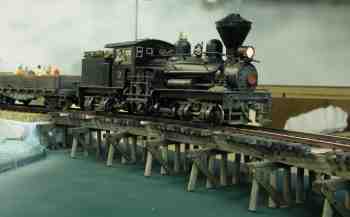
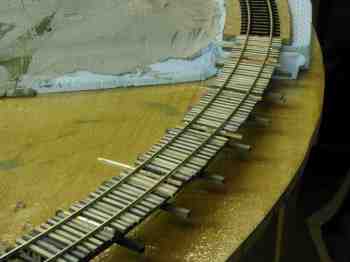
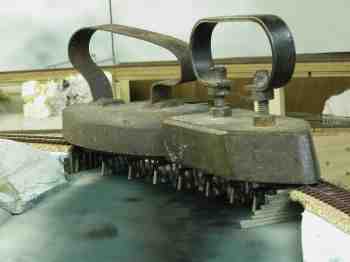
Next step, a lot of NBWs. Nearly 260! I reworked the water a little bit and placed the bridge. I glued the track with two-part epoxe adhesive to the bridge ties. During the hardening time I used heavy weights! The right picture shows the first spikes. When all track is spiked I remove the PC-ties and replace them with wooden ties.
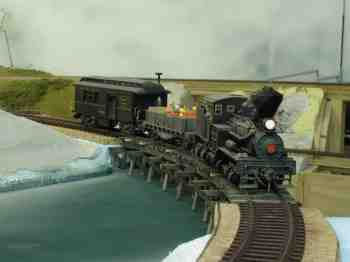
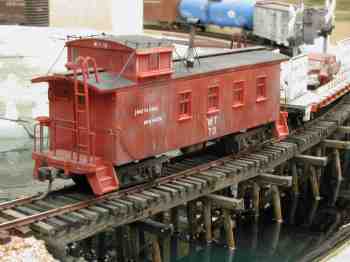
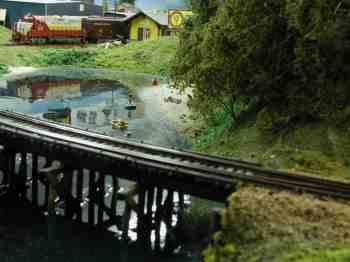
And the came the "water". I poured gloss medium to the lake bottom. And Extra 50 could do his trip to Plywood District.
Now comes ballast,
 and
Jan 06:
and
Jan 06: 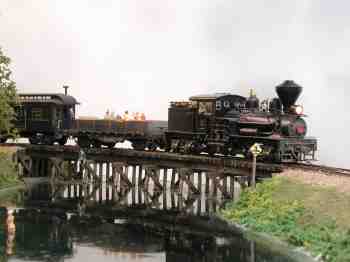
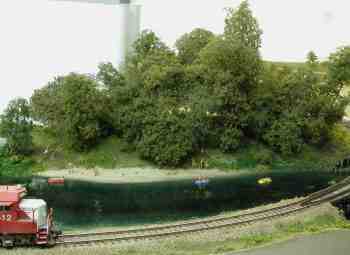
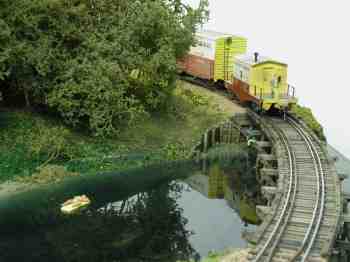
and scenery.
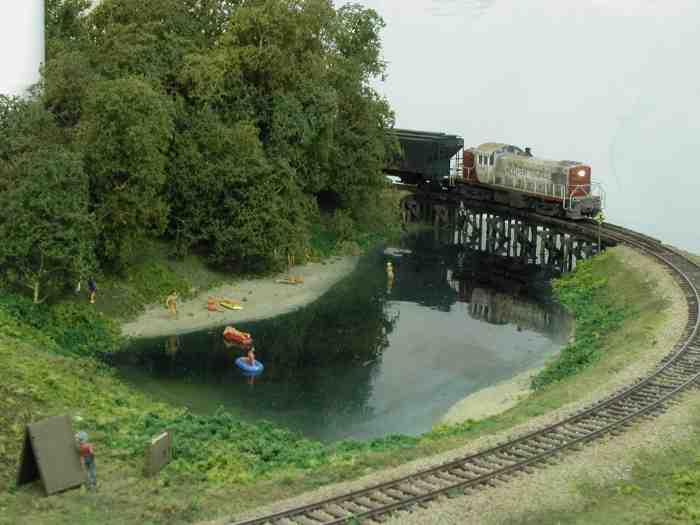
Now, I've added some trees and people. I would like to say "my trestle is finished"!
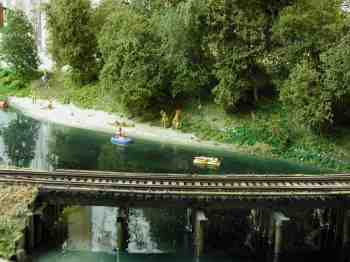
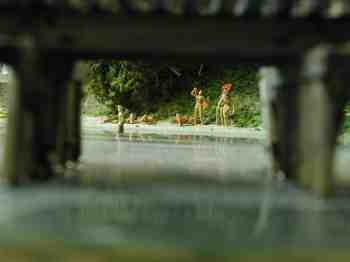
And a special picture for the fans of "Lord of the Rings":
Another trestle project on a module and pictures at my RailImages album.
| [How to scratch build turnouts] and [crossings] [Manual thrown Peco turnouts] [switch stands] [Movable magnets] [DCC] [beacon light] [CB&Q 173] [RS-1 and weathering] [tender pick up 0-8-0] [ Track Cleaning Transfer Caboose ] [ Signal Bridge ] [Operation] [Way of Hopper BN 25 3 84] [WT RR industries shipping & receiving] download Excel [carcards&waybills] 900kB [staging] [Harbor District] [Plywood District] [Third Street Industrial District] [track scale, structures] [Operating gates] [Waterfront Structures] [trestle] [Interchange Cars] [car exchange] [pass exchange] [electronic rail pass ] [ video ] |