WESTPORT TERMINAL RR |
NEW April 08 |
[How to scratch build turnouts] and [crossings] [Manual thrown Peco turnouts] [switch stands] [Movable magnets] [DCC] [beacon light] [CB&Q 173] [RS-1 and weathering] [tender pick up 0-8-0] [ Track Cleaning Transfer Caboose ] [ Signal Bridge ] [Operation] [Way of Hopper BN 25 3 84] [WT RR industries shipping & receiving] download Excel [carcards&waybills] 900kB [staging] [Harbor District] [Plywood District] [Third Street Industrial District] [track scale, structures] [Operating gates] [Waterfront Structures] [trestle] [Interchange Cars] [car exchange] [pass exchange] [electronic rail pass ] [ video ] |
How To "moveable switch stands"
Most pictures are linked to a larger view, click on them.
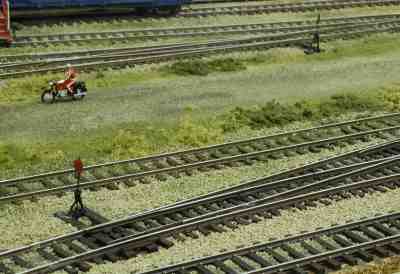
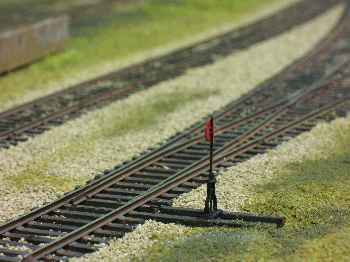
The "new" Peco code 83 #6 with Details West SS-914 switch stand:
There're more pictures at my album in Railimages or at my German site, the pictures will tell you. Or my old version
Also an article in Model Railroad Hobbyist magazine.
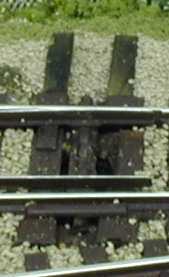
At first, the turnout get longer ties: |
 |
This is a Peco code 75 turnout. |
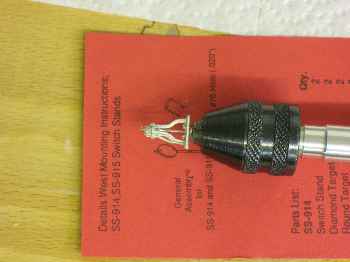
Following the instructions I drilled the hole with 0,6 mm. At the bottom of the switch stand, there's a mark.
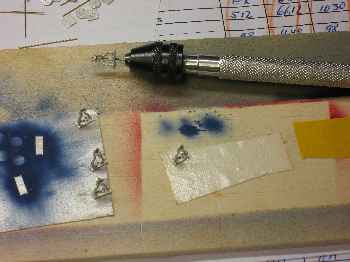
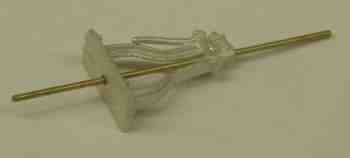
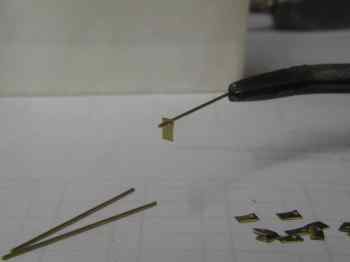
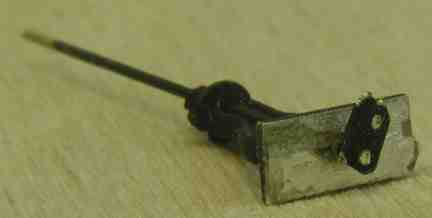
The next step is soldering a tiny sheet of brass to one end of the Brass Rod.
And then color ...
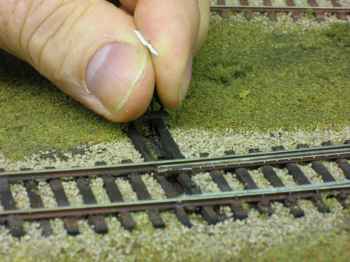
Here's the switch stand and the brass rod. At the first step I use a piece of paper instead target. I glue a 0,3mm steel wire into a hole in the throw bar. The other end of the wire goes into a hole in the tiny brass sheet.
The steel wire glued into throw bar.
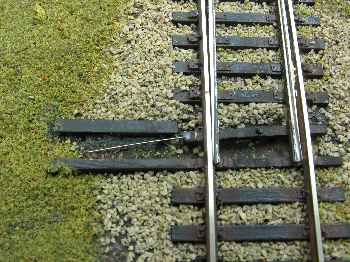
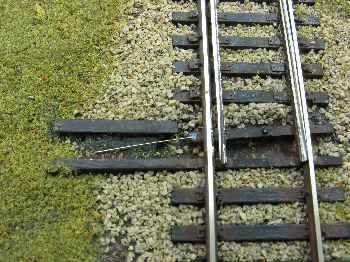
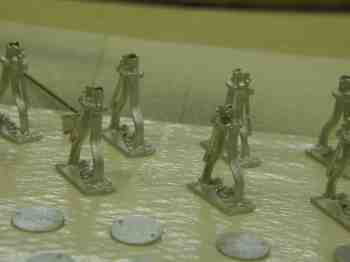
Half of the success is the correct placement of the switch stand. The actuator should move about 90 degree. You have to drill after painting therefore the second hole - with a short distance!
 |
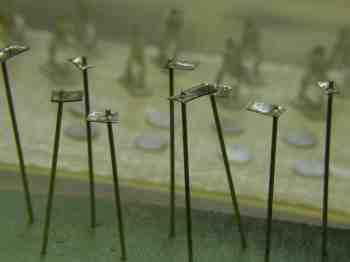
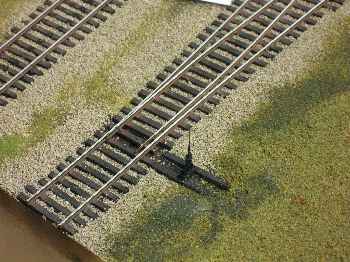
The throw bar moves the steel wire. The steel wire should move the "crank" about 90 degree. You place the switch stand without target over the free end of the steel wire. The vertical free end of the steel wire must be short enough to move under the switch stand base. The length depends on you head tie thickness. |
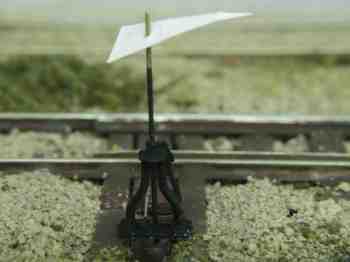
Switch stand still without target.
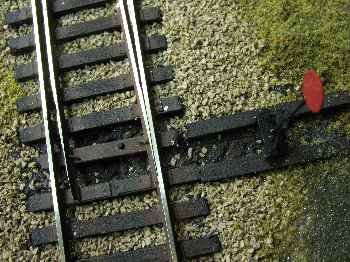
If everything works correct, I glue the target to the brass rod.


| [How to scratch build turnouts] and [crossings] [Manual thrown Peco turnouts] [switch stands] [Movable magnets] [DCC] [beacon light] [CB&Q 173] [RS-1 and weathering] [tender pick up 0-8-0] [ Track Cleaning Transfer Caboose ] [ Signal Bridge ] [Operation] [Way of Hopper BN 25 3 84] [WT RR industries shipping & receiving] download Excel [carcards&waybills] 900kB [staging] [Harbor District] [Plywood District] [Third Street Industrial District] [track scale, structures] [Operating gates] [Waterfront Structures] [trestle] [Interchange Cars] [car exchange] [pass exchange] [electronic rail pass ] [ video ] |